 Save
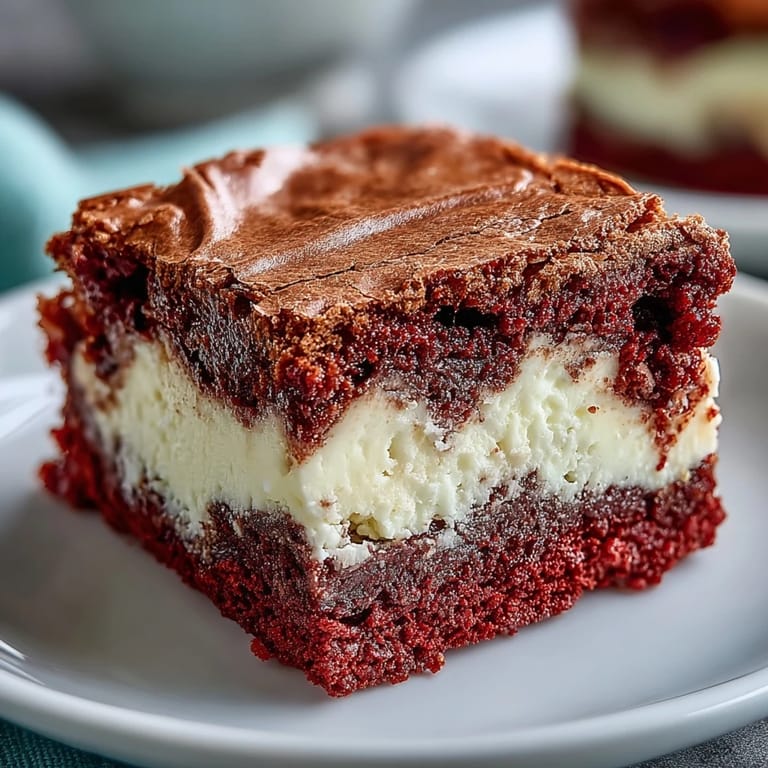
Save The kitchen counter was already covered in flour when my sister called, asking what I was making. When I said red velvet cheesecake brownies, she went silent for a second. That's how I knew she was already in the car. Some desserts have that effect.
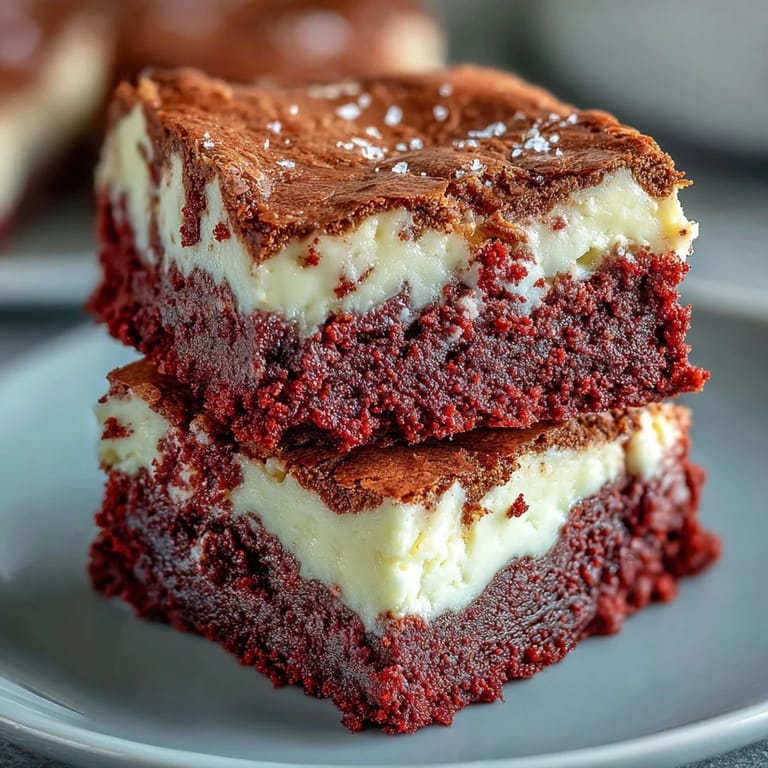
I brought these to a potluck last winter and watched them disappear in under ten minutes. My friend's husband took one bite, closed his eyes, and immediately asked for the recipe. That's when you know you've found something special.
Ingredients
- Unsalted butter: Melted and slightly cooled helps create that dense, fudgy texture we want in the brownie layer
- Granulated sugar: The sweetness balances the slight tang from both cocoa powder and cream cheese
- Large eggs: Room temperature eggs incorporate better and help achieve the right structure
- Red food coloring: Gel coloring gives you that vibrant red without adding excess liquid
- All-purpose flour: Just enough to hold everything together while keeping the texture rich and dense
- Unsweetened cocoa powder: This provides the subtle chocolate flavor that makes red velvet distinctive
- Cream cheese: Softened to room temperature, this creates the luxurious cheesecake layer
Tired of Takeout? 🥡
Get 10 meals you can make faster than delivery arrives. Seriously.
One email. No spam. Unsubscribe anytime.
Instructions
- Preheat and prep your pan:
- Set your oven to 175°C (350°F) and line a 20x20 cm (8x8-inch) baking pan with parchment paper, letting the paper hang over the sides like little handles for easy lifting later.
- Make the red velvet batter:
- Whisk the melted butter and sugar until smooth, then add eggs, vanilla, and red food coloring, mixing until combined and the color is evenly distributed.
- Add the dry ingredients:
- Sift in the flour, cocoa powder, and salt, then fold gently until just combined—overmixing here will make your brownies tough instead of tender.
- Reserve and spread:
- Set aside about 1/4 cup of the red velvet batter for the swirl, then spread the remaining batter evenly into your prepared pan.
- Prepare the cheesecake layer:
- Beat the softened cream cheese until smooth, then add sugar, egg, and vanilla, beating until creamy and completely lump-free.
- Layer the cheesecake:
- Pour the cheesecake mixture over the red velvet batter in the pan and spread it gently into an even layer.
- Create the swirls:
- Dollop your reserved red velvet batter by spoonfuls over the cheesecake layer, then use a knife or skewer to swirl through both layers.
- Bake to perfection:
- Bake for 35 minutes until the center is just set and a toothpick comes out with moist crumbs—overbaking will dry out the cheesecake layer.
- Cool completely:
- Let the brownies cool completely in the pan on a wire rack, then refrigerate for at least 2 hours before cutting into clean squares.
 Save
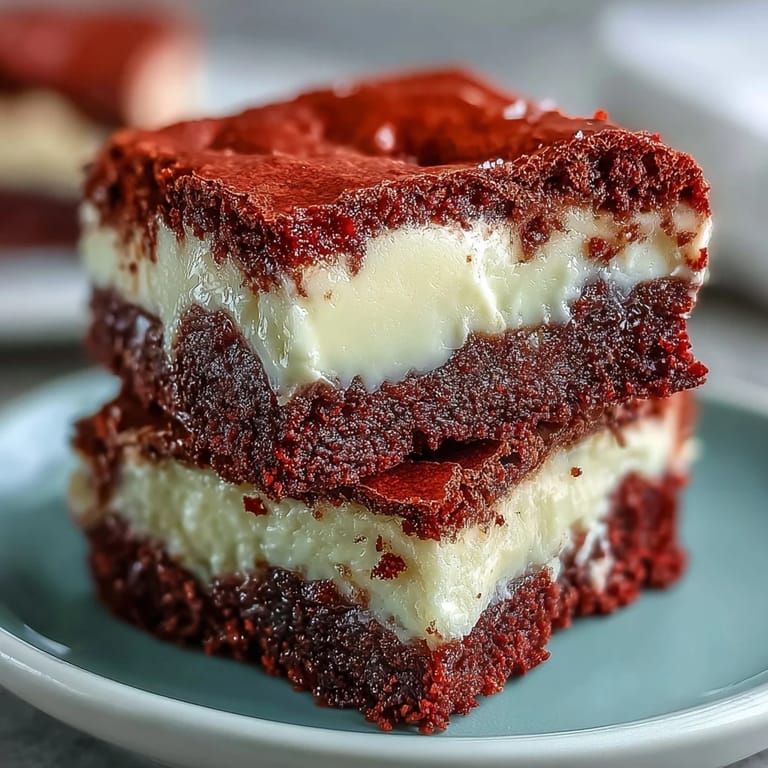
Save These became my go-to birthday treat after I made them for my niece's sweet sixteen. She blew out the candles with red velvet crumbs on her chin and declared them better than any bakery cake she'd ever tasted.
Getting The Perfect Swirl
The trick to beautiful swirls is not overthinking it. I used to obsessively create perfect patterns until I realized that a simple figure-eight motion creates the most marble-like effect. The key is running your knife through the layers just enough to blend them slightly without turning everything into a muddy color.
Room Temperature Is Everything
Cold ingredients are the enemy of smooth cheesecake swirls. When cream cheese isn't softened, you'll end up with tiny lumps that no amount of mixing can fix. Set everything out about thirty minutes before you start baking. Your patience will be rewarded with the silkiest, most luxurious texture.
Serving And Storing
These brownies actually improve after a night in the refrigerator. The flavors meld together and the texture becomes even more fudgy. Serve them slightly chilled or at room temperature depending on your preference.
- Use a hot knife for clean cuts that show off those beautiful swirls
- These freeze beautifully for up to three months if wrapped well
- Add a dusting of powdered sugar right before serving for extra elegance
 Save
Save Every time I pull these from the oven, I'm reminded why red velvet has remained beloved for generations. Something magical happens when you swirl that bright red batter into creamy white cheesecake.
Recipe Questions & Answers
- → What's the best way to get clean slices?
For perfectly neat slices, ensure the brownies are cooled completely in the pan on a wire rack, then refrigerate them for at least two hours before cutting. This firms up both layers.
- → Can I use gel food coloring instead of liquid?
Yes, the specifications mention that either liquid or gel red food coloring can be used for the red velvet layer. Gel coloring might offer a more intense color with less liquid.
- → How should I store leftover brownies?
Store these brownies in an airtight container in the refrigerator for up to 5 days to maintain their freshness and texture.
- → What's the purpose of using room temperature ingredients for the cheesecake?
Using room temperature cream cheese and egg for the cheesecake layer ensures a smoother, lump-free mixture that incorporates easily and bakes evenly.
- → Can I enhance the richness of the brownie layer?
Absolutely! For an extra decadent touch, you can fold in some white chocolate chips into the red velvet brownie batter before spreading it in the pan.
- → How do I know when the brownies are done baking?
Bake for about 35 minutes, or until the center appears just set. A toothpick inserted into the brownie should come out with a few moist crumbs, not wet batter.