 Save
Save My roommate in college had this ancient waffle iron she'd rescued from her grandmother's basement, and we decided to break it in on a rainy Sunday morning. The kitchen smelled like vanilla and melting butter for hours. We made mistakes—overfilling the iron, burning the first batch—but by the third attempt, we'd found the rhythm. Something about the ritual of mixing batter and hearing that gentle sizzle made even the grayest morning feel possible.
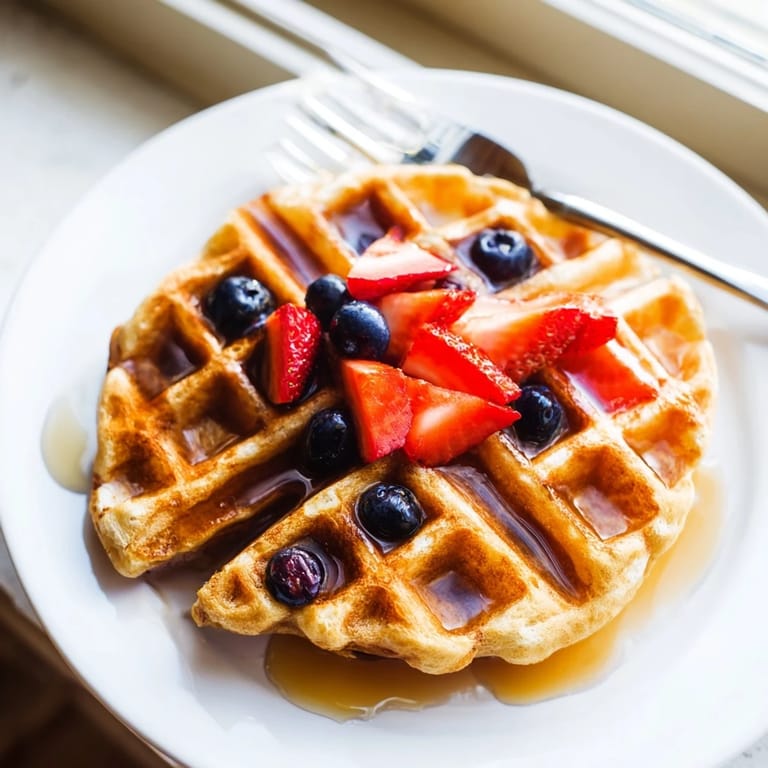
Last winter my sister came over after a terrible week at work, and I made these while she sat at the counter, half-asleep. She took one bite and actually started crying—not sad tears, just that release you get when something is exactly what you needed. We ate standing up in the kitchen, with butter dripping down our wrists, talking about nothing important until the sun came up.
Ingredients
- All-purpose flour: Gives the waffle structure without making it tough or bread-like
- Granulated sugar: Helps the exterior caramelize into that golden crunch we're chasing
- Baking powder: The lift agent that creates those airy pockets inside each waffle
- Salt: Essential for balancing sweetness and making the vanilla sing
- Eggs: Bind everything together while contributing to the tender crumb
- Whole milk: Creates richness and helps achieve that perfect crisp-soft contrast
- Unsalted butter: Melted and cooled, it adds incredible flavor and helps with browning
- Pure vanilla extract: The aromatic backbone that makes everything taste like home
Tired of Takeout? 🥡
Get 10 meals you can make faster than delivery arrives. Seriously.
One email. No spam. Unsubscribe anytime.
Instructions
- Preheat your waffle iron:
- Every iron heats differently, so give it a solid 5-10 minutes to get properly hot
- Whisk the dry ingredients:
- Combine flour, sugar, baking powder, and salt in a large bowl until evenly distributed
- Blend the wet ingredients:
- In a separate bowl, whisk eggs, milk, melted butter, and vanilla until smooth and unified
- Combine the mixtures:
- Pour wet into dry and fold gently until just combined—some lumps are your friends here
- Prepare the iron:
- Give the grids a quick swipe with butter or spray so nothing sticks
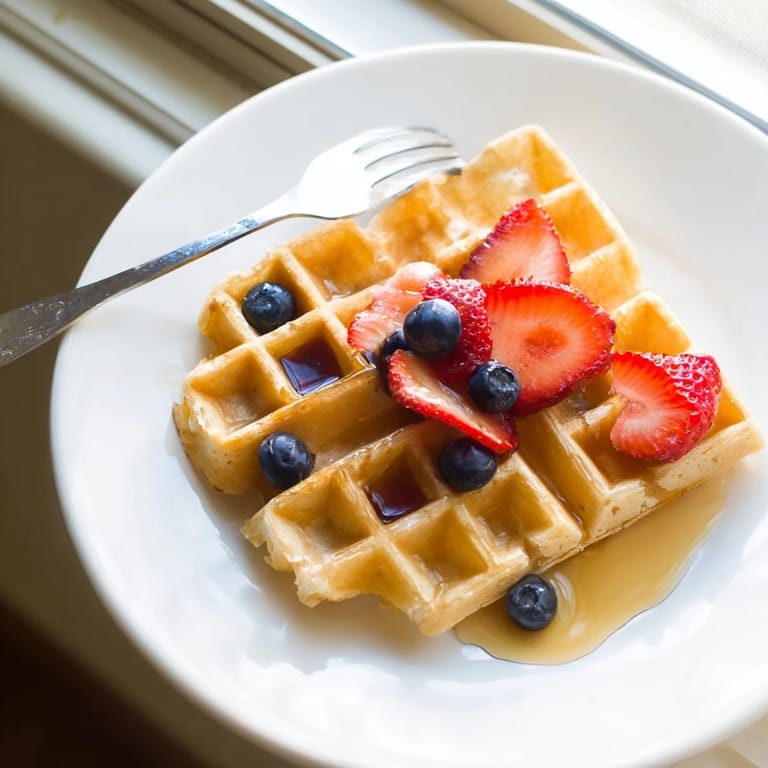
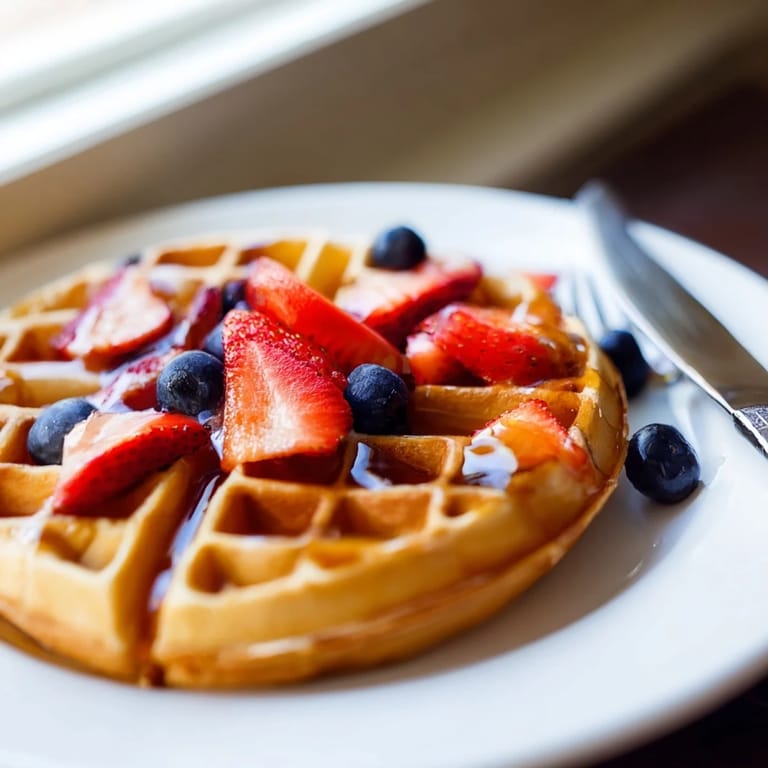
- Cook to golden perfection:
- Pour batter just to cover the grid, close lid, and cook 3-5 minutes until steam slows and waffle is crisp
- Repeat and serve:
- Keep going until all batter is used, then serve immediately with whatever toppings make you happy
 Save
Save My neighbor's kids run to the fence when they smell these cooking, and I've started keeping extra frozen berries just for them. Theres something universal about the sound of a waffle iron clicking open, that steam rising into the air. Food becomes memory faster than anything else I know.
Getting That Restaurant Crisp
The secret trick I learned from a short-order cook is to let finished waffles cool on a wire rack instead of stacking them. Stacking traps steam and makes them soggy, but air circulation keeps them shatteringly crisp. This tiny change transformed my waffle game completely.
Flavor Variations That Work
Sometimes I fold in fresh blueberries or chocolate chips right at the end, or add a teaspoon of cinnamon when the mornings feel especially cozy. Buttermilk instead of regular milk creates the most subtle tang, and a dash of almond extract alongside the vanilla makes everything taste fancier than it actually is.
Making Ahead and Storing
Cool waffles completely on the rack, then freeze them in a single layer before transferring to bags. They reheat beautifully in the toaster, straight from frozen, which means you can have weekday waffles that taste like weekend ones.
- Layer parchment paper between waffles if freezing in stacks
- Set toaster to medium-low so they heat through without burning
- Frozen waffles stay good for about two months, though they never last that long here
 Save
Save Mornings deserve this kind of simple joy. Hope these waffles find their way into your weekend rotation soon.
Recipe Questions & Answers
- → How do I get extra crispy waffles?
For maximum crispiness, let cooked waffles rest on a wire rack instead of stacking them. This prevents steam from making them soggy. You can also add an extra tablespoon of sugar to the batter, which promotes browning and crispiness.
- → Can I make the batter ahead of time?
It's best to cook waffles immediately after mixing the batter. The baking powder starts working as soon as it meets the wet ingredients, so waiting too long can result in less fluffy waffles. However, you can mix dry and wet ingredients separately the night before and combine them just before cooking.
- → What's the difference between using butter and oil?
Butter adds rich flavor and helps create a crisp exterior, while oil yields a slightly more tender texture. This recipe uses melted butter for that classic buttery taste and golden color. Just make sure to cool the butter slightly before adding it to prevent cooking the eggs.
- → How do I store leftover waffles?
Cool waffles completely on a wire rack, then freeze them in a single layer before transferring to a freezer bag. They'll keep for up to 2 months. Reheat frozen waffles in a toaster for 2-3 minutes until hot and crispy again—no need to thaw first.
- → Can I substitute buttermilk for regular milk?
Absolutely! Buttermilk adds a subtle tangy flavor and creates an even more tender texture. If using buttermilk, consider adding ¼ teaspoon of baking soda to help neutralize the acidity and ensure proper rising.
- → Why is my waffle batter lumpy?
A few small lumps are perfectly fine and actually preferable. Overmixing develops gluten, which can make waffles tough instead of tender. Stir gently until just combined—the lumps will disappear during cooking.